Tuesday, July 19, 2011

Busy Bee Thank You

My DD just completed her last Tiny Tots class on Monday.  She has been taking classes every Monday with Miss Linda for about a year or so.  DD absolutely loved her Tiny Tots class and her teacher.  I must say, I loved Miss Linda too!  She is such an excellent teacher, always coming up with creative projects for the children and keeping them engaged along the way.  

So I wanted to give Miss Linda a little something from us to show her how much we appreciated her.  I made her this tissue box cover (got the instructions here) and a little card for my daughter to write a little "thank you" note in.  I added a GC too just for a little something extra.

Used my Create-a-Critter cartridge for this project
All of the images are from the (CAC) bee button selection
I thought all of these images kept the box bright and cheerful
Miss Linda is definitely a Busy Bee...she's always on the go and even makes sure to start each class off with some exercises for the kids!

A quick and simple card to go along with Miss Linda's gift.
I can't believe that my DD will be starting kindergarten in a few weeks (sigh)!  Time surely has gone by too quickly!  I sure hope she does well and I can adjust well to not having her at home with me!  LOL!  Thanks so much for stopping by!

Tuesday, July 12, 2011

Birthday Card for a Princess

Here's the birthday card I made for a party my family and I will be attending on Saturday. The birthday girl wanted a Princess themed party so I decided to ink up my Princess Anya stamp. I had so much fun making this card since I was able to make use of my Ink Potion supplies again and I also got to use my new SU! border punch.

I actually sprayed Princess Anya all over with my clear shimmer Ink Potion mixture...although you can't really see it in the picture and the border was punched out of white CS and sprayed with my light pink Ink Potion mixture. I used SU! Dazzling Diamonds for her crown and princess wand.

This is the inside of the card...just added some 3D stickers to dress it up a bit. Oh and inked up a few stamps from my new SU! Happiest Birthday Wishes set! :-)

Well thank you again for stopping by. I'm hoping to be able to sneak in a little more crafting time before school starts again but this month has been crazy busy! (fingers crossed!) Have a great day and a wonderful weekend!

Friday, July 1, 2011

Bring on the Cake

Here is the card that my mom got from my family for her birthday. It's a simple easel card and I had so much fun making it.

A long while back (like a year or two ago), my MIL and I were shopping and were able to catch an Ink Potion No. 9 in-store demo and were amazed by the results! So, being the generous person that she is, my MIL bought me a bunch of stuff so that I could start creating with it at home. Of course, once I got it home, I never got around to using it and slowly but surely it got lost in a sea of crafting stuff. Okay, so I cleaned up and kind of organized my crafting stuff and what do I find? hahaha....yes my Ink Potion No. 9 stuff.

This time I decided to actually put it to use. I mixed and sprayed and mixed some more and had fun making different colors and loving the shimmery effect of the Ink Potion No. 9. In the end, I decided to use the purple that I mixed together since it's my mom's favorite color.

Oops, wasn't quick enough snapping a picture of this card...my kids already signed it! Oh and I used some green distress ink on some white CS before I sprayed my purple mixture over it so there is a subtle hint of green at some of the edges (since I was going to initially use it on the card my dad gave to my mom)!

Made a matching little gift bag (using my SU! Fancy Favor bag die) for my mom's gift. The purple circles are punched from white CS sprayed with my purple Ink Potion No. 9 mixture.


Well, there you have it. I'm hoping to start using this product more because I really do love the results. Thanks for stopping by again! Have a FANTABULOUS holiday weekend!

Thursday, June 30, 2011

Double Easel Birthday Card

I made this card about a week ago when I was still amped up on crafting!  Soon afterward, things began to get hectic around my house and I never got around to taking a picture of it and posting it.  Well yesterday was my mom's birthday and my dad needed a card for her.  Okay, let me be "real" now.  He would have been perfectly fine not having a card and handing her present to her in the shopping bag that her gift was placed in when he bought it...but how sad is that??  I have two young children and so I try to make these things a bit more exciting for them you know?!  hahaha!!  ANYWAYS, here is the card that I made for my dad to give to my mom.
Made this flower using my Fun Flower Bigz die (finally)

Thanks for stopping by today!  I hope you're having a great week!

Friday, June 10, 2011

Hitched Wedding Card

My family and I will be attending a wedding soon and since my DS is on summer vacation I actually had some time to work on the card....ahead of time....not the day of which is my usual M.O.! :-)  I realized I only have one real wedding stamp which is kinda funny/sad since I have so many stamps at this point.  I think it's probably because I didn't really get into crafting until after I made it through the "wedding phase" of my life.  You know the phase when all of your friends and other people in your life all seem to be getting married one after another??   Well, there haven't been much wedding for us to attend for the past few years and now this year we have 2.  

ANYWAYS, I colored this image up using my color pencils and added some stickles on the brides dress and veil.  Oh, and used my Copic Atyou Spica pens to add some sparkle here and there on the groom as well.  This is a super quick image to color up which is probably why it's the only wedding stamp I have...I like quick! :-)
`
 Added little touches of bright pink since the wedding invitation we received was bright pink and orange
Decided on a gatefold style card with a pocket on the inside for our "gift"
I forgot how much I love using Stickles to bling up images! :-)

Well, that's it for now.  Thanks for stopping by once again.  Thinking that maybe I should use this time to get a jump start on some crafting.  I'm starting to realize how fast this year is going by and thinking about all of the crafting that will be in my near future since both of my kiddies will be in school now and the holidays are quickly approaching!  YIKES....okay, okay, getting ahead of myself...breathe - just gotta take it one day at a time, one day at a time! LOL! :-)  Have a great day and a wonderful weekend!!

Thursday, June 9, 2011

Hello Kitty Duct Tape Wallet

Yesterday I posted the Hello Kitty duct tape coin pouch that I made.  Well here is the wallet that I put together.  I kinda watched a few tutorials and then decided to wing it...seemed easy enough.  I decided to add a magnetic closure to my wallet to help keep it closed.
Wallet closed
Inside of wallet....I would probably omit the silver duct tape on the bottom of the ID pocket if I were to make this again
All the pockets that I added.  The majority of the wallet is made with the regular silver duct tape and I placed the Hello Kitty duct tape over it. 

My DH seemed to like this creation.  He wanted me to try and sell it.  But I still can't wrap my head around this duct tape stuff.  I need more convincing that it's the "in thing" I guess. LOL!  Thanks for stopping by to check out my creation!

Wednesday, June 8, 2011

Hello Kitty Duct Tape Coin Pouch

Okay, a few months ago while shopping at Target I found a roll of Hello Kitty duct tape.  Well since it was HELLO KITTY duct tape I just had to have it...not knowing what in the world I was going to do with it.  Now I don't know about you but I had NO CLUE how big duct tape is now.  I was browsing the internet and came across many different duct tape crafting tutorials...I told my DH how interesting and kinda funny it was that there are so many people that are into duct tape stuff now.  Then my DH showed me the Think Geek website that he likes to buy gifts from every so often and they were selling duct tape wallets!  I just thought it was so strange but he convinced me to try and make something with my Hello Kitty duct tape.  Decided to start of easy (I wanted to conserve my tape since it was the last roll when I went) and made this coin pouch (found a tutorial for this on YouTube).

Pouch opened up...about 2" tall and wide
Folding coin pouch close
Flattening it out
Pouch closed

Tuesday, June 7, 2011

Gatefold Birthday Card

One of my bestest friends will be celebrating her birthday tomorrow.  This is the birthday card I made for her from me and a few of my other friends.  I decided on a gatefold card since it left plenty of room on the inside for each of us to write a little something to our friend since she is in Spain now and we NEVER get to talk to her anymore.  I chose to finally ink up my Fleur Anya stamp since the flowers in her hair reminded me of a haku lei.  I dusted off my Copics to color her with since I've been using my color pencils a lot lately....and I've been admiring the shading effects on so many awesome blogs. I just gotta keep practicing! :-)

Anyways, thanks for stopping by and I hope you are having a great week!

Monday, June 6, 2011

Perpetual Folding Birthday Card

Here's the front of my dad's card
My dad celebrated his birthday last week.  Here is the card I made for him.  I love to make more challenging cards for him because it's always fun for everyone to watch him try to figure out how to open it (last year I made him this card).  So when I got my Stampin' Success in the mail a few months ago and it featured this perpetual folding card, I knew it would be perfect for my dad!

First fold
Second fold (my son decided he wanted to sign it)
And here's the last fold...my kids drew pictures for their Papa
This card did take me a couple of tries to perfect.  The paper needs to be cut just right for all of the folds to "work".  And then the task of embellishing all of the different folds took me some time since it's like trying to create 4 cards in one.  But it was all worth it.  I wish I had taken some pictures of my dad trying to figure it out...it was pretty funny. (hehehe!)  We all got a good laugh at the confused expression on his face! :-)

Thanks so much for stopping by!  Have a great week!

Friday, June 3, 2011

Gorjuss Girl Birthday Card

I made this card for my cousin who just turned 18 on Monday.  She and her parents lived with my parents for a while before buying a house of their own so I was able to watch her grow from the time that she was born!  I can't believe that she is 18 now, just graduating from high school, and starting college!  Amazing how old that makes me feel! LOL!!!  Now that I have kids of my own, I truly understand what it means when people say "they grow up so fast!"

Thursday, June 2, 2011

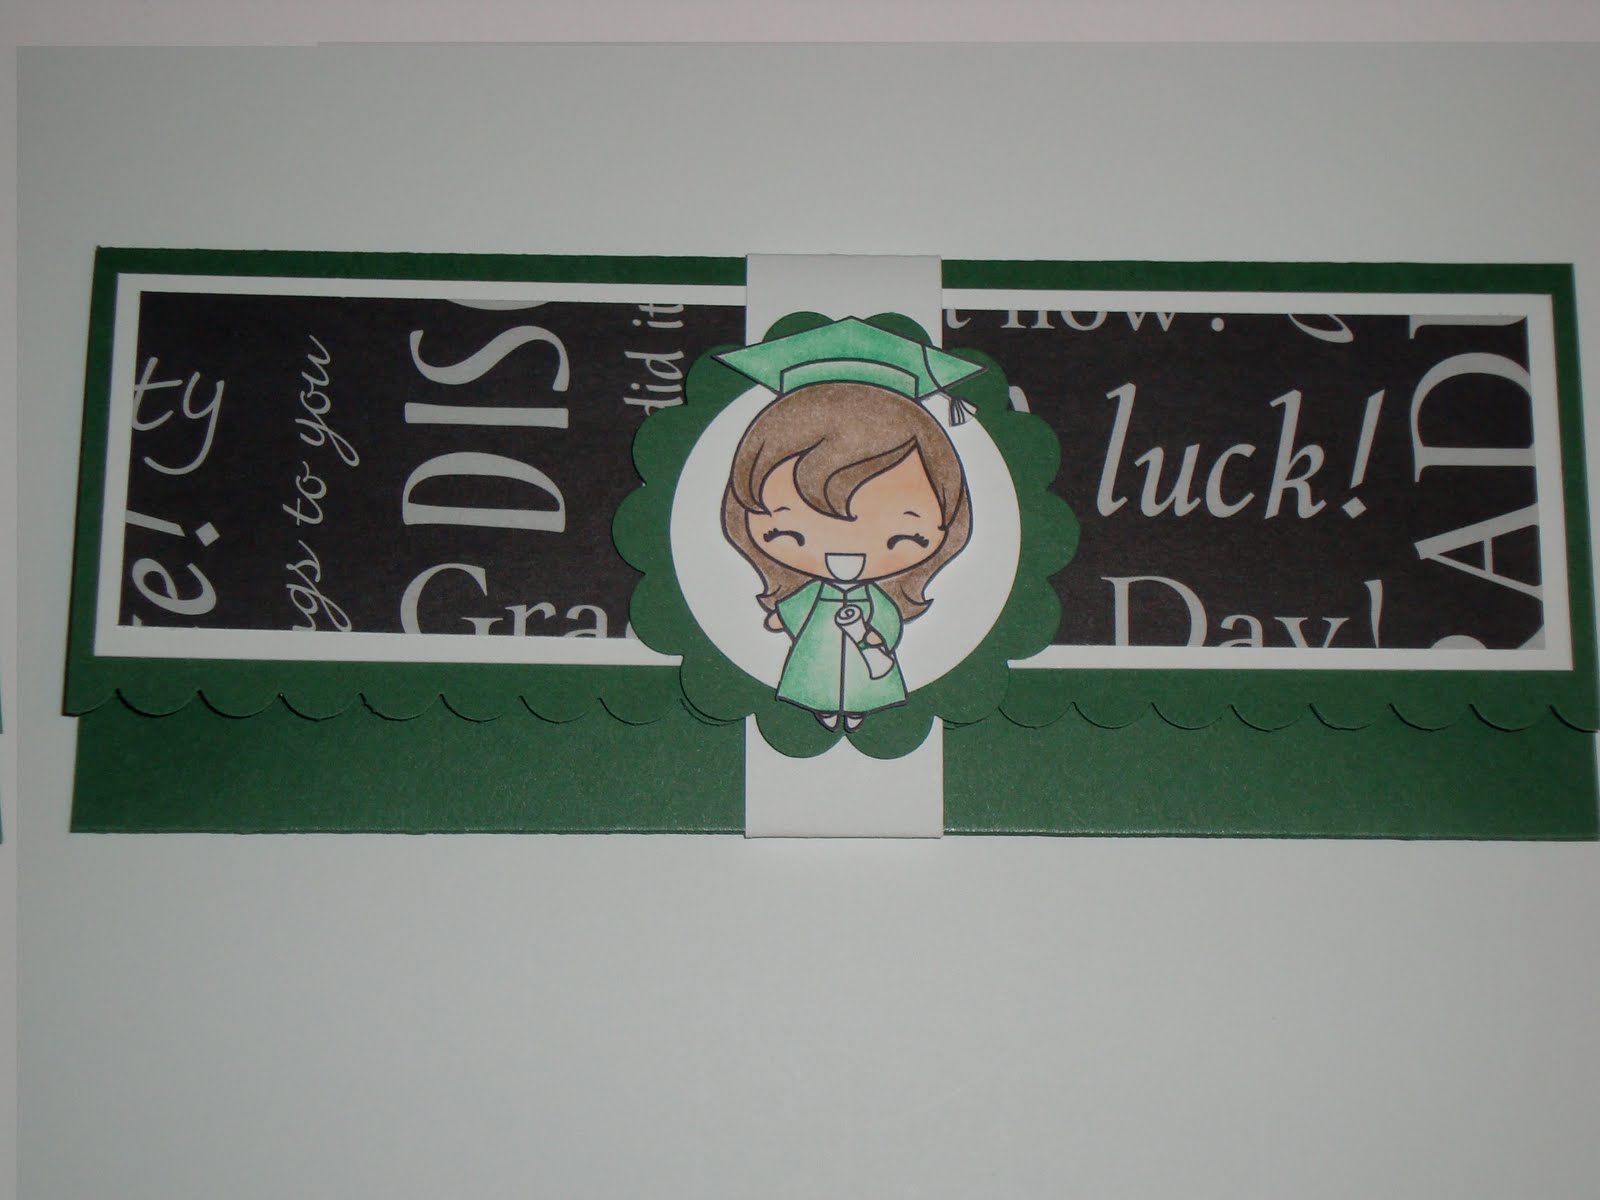
Money Holder Graduation Cards

Quick post...I had two graduations to attend last month.  One of my cousins graduated from UH and the other cousin graduated from high school.  Here are the money holder cards I made for them...super simple and fast!


Thanks for stopping by!  I hope you're enjoying you week!

Wednesday, June 1, 2011

Baby Shower Diaper Cake

Here is another diaper "cake" I made for another one of my DH's coworkers. This one is a car.  I had actually started this cake around the same time as the  diaper cake bike I made a few months ago but got side tracked...my DH actually had to remind me about it. (oops!)  SO, since my DS is on summer vacation now, I decided to finish it up. Glad I got it done in time! :-)

Don't mind the junk (and my DS)  in the background...he's enjoying his summer vacation!! :-)

Here is the tag I made to add to this cake...used some left over stuff from my SIL's baby shower that we had a while back.